






Mounting a retractable hose reel is straightforward when the wall and fixings are suitable. The most important step is identifying what sits behind the visible surface.
UK homes may have exposed brick, render over masonry or render over external wall insulation. Render itself is not normally load-bearing, so the reel must be secured into sound brick or blockwork behind it.
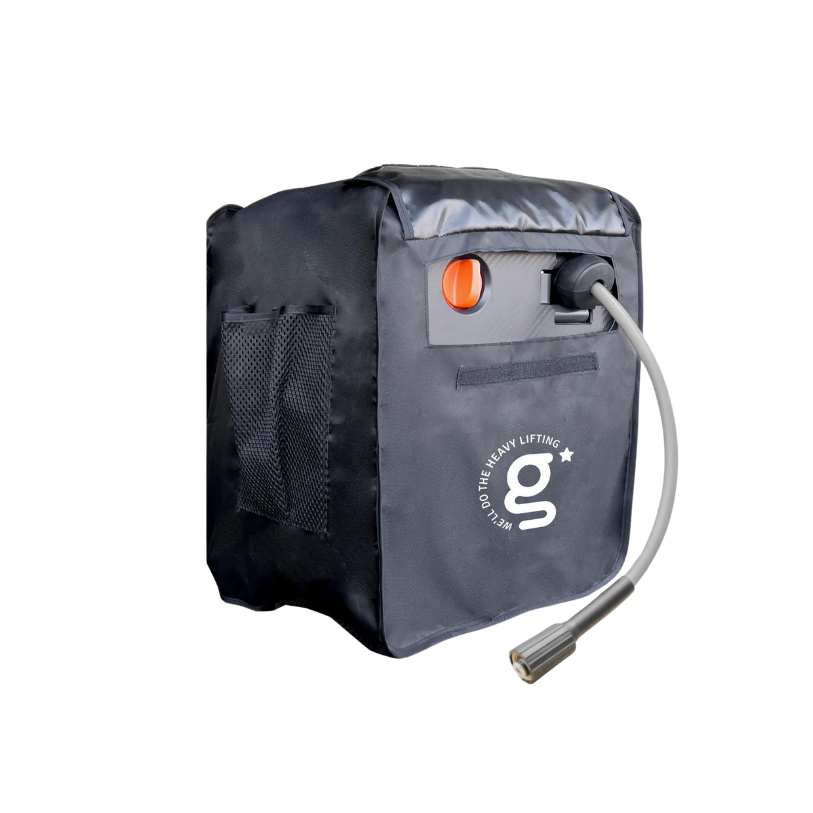
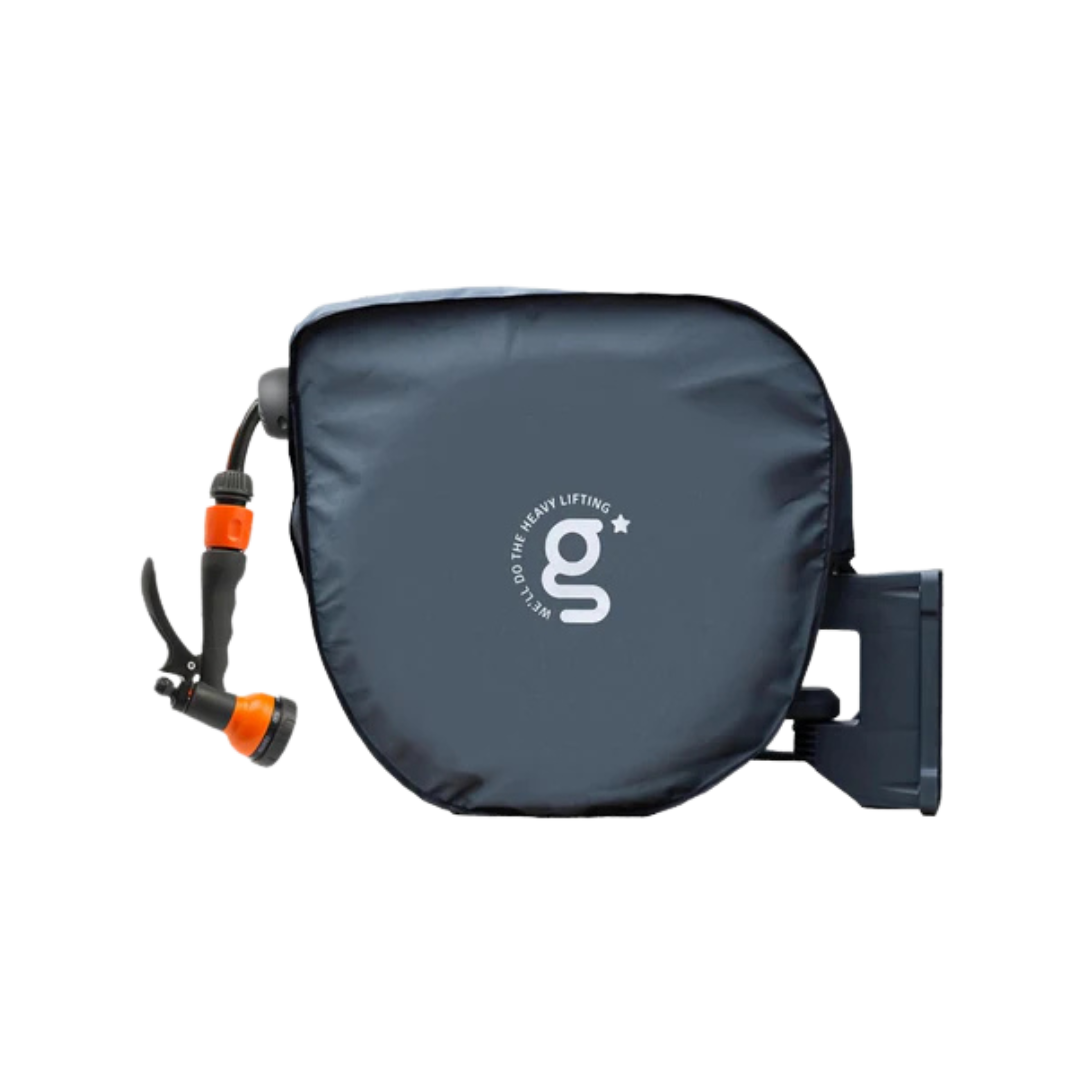
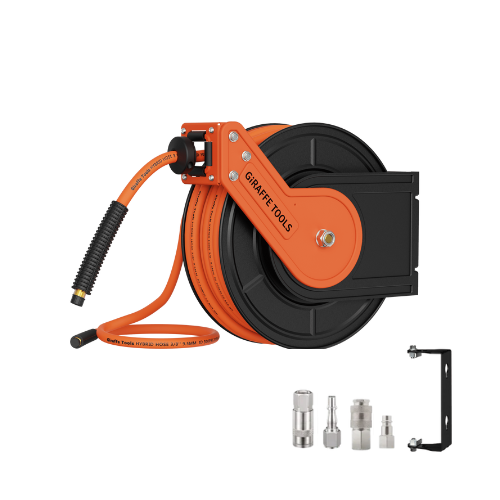
This is particularly important for the Giraffe Tools 35m Retractable Hose Reel. The unit weighs approximately 13.6kg, carries a 35m hose and swivels through 180°. Pulling and rotating the reel adds force to the bracket, so a secure structural fixing is essential.
Always follow the product manual and the instructions supplied with your chosen fixings. Consult a qualified installer if the wall construction is unclear.
Check your wall before drilling
Exposed brick
Sound brickwork can provide a suitable mounting surface. Avoid:
- Cracked or crumbling bricks
- Loose pointing
- Previously damaged fixing points
- Positions too close to corners
- Areas beside visible cables, pipes or vents
Many UK homes have cavity walls with an outer brick layer. The reel should be fixed securely into the suitable outer masonry rather than attempting to bridge the cavity.
Render over brick or block
Render is the external finish, not the main supporting material.
The fixing must:
- Pass through the render.
- Reach the brick or block behind it.
- Achieve the required anchoring depth inside that masonry.
Do not rely on plastic plugs positioned only within the render.

Render over external wall insulation
Some rendered homes have insulation boards between the render and structural wall.
In this situation, ordinary short wall plugs may not reach the masonry. A specialist stand-off fixing system is usually required to pass through the insulation without crushing it.
Stop and seek professional advice if you cannot confirm what is behind the render.
Are the supplied fixings suitable?
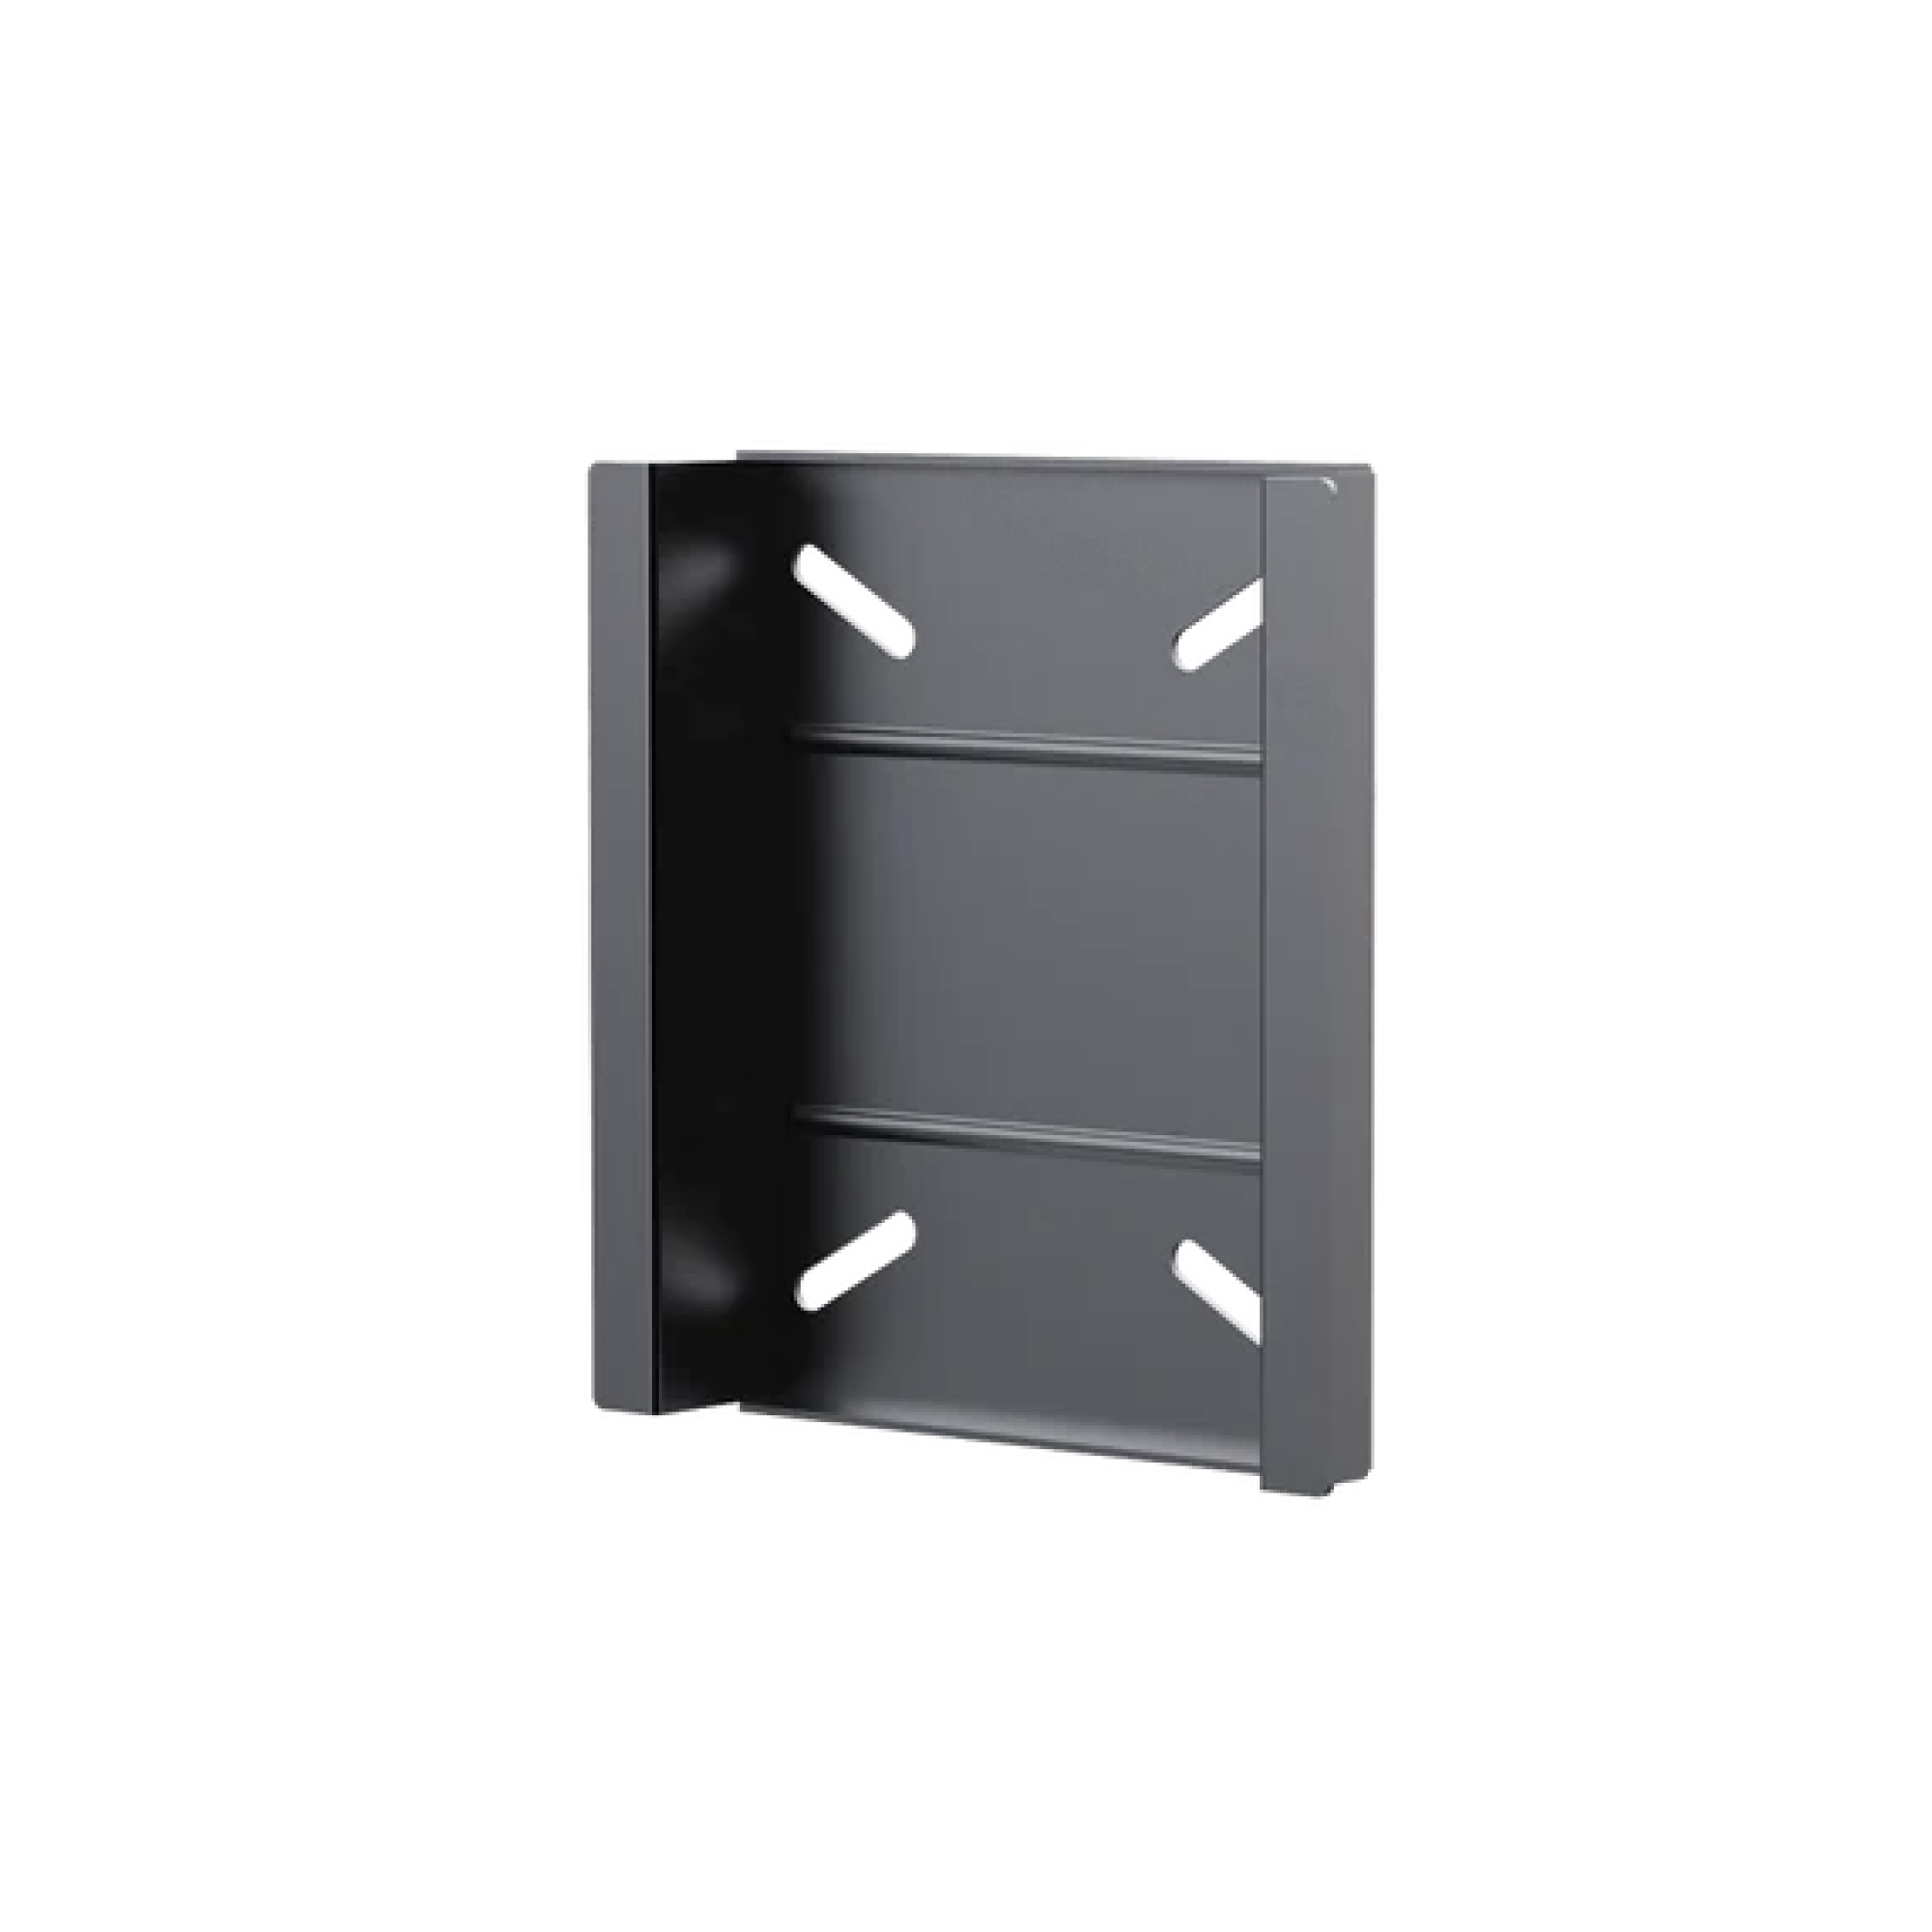
The Giraffe Tools 35m reel includes four plastic anchors and four mounting screws.
These may be suitable for compatible, sound masonry, but they should not automatically be used on every UK wall.
| Wall type | General guidance |
|---|---|
| Sound brick masonry | Supplied fixings may be suitable; follow the manual |
| Render over masonry | Confirm that the fixings reach sufficiently into the masonry |
| External wall insulation | Use a suitable specialist fixing system |
| Hollow or lightweight block | Use fixings approved for that substrate |
| Damaged or unknown wall | Have the installation assessed professionally |
Choose the right position
Before marking the wall, check the product’s actual installation needs.
Keep it close to the tap
The reel includes a 2m leader hose. Position the unit close enough to the outdoor tap that this hose is not stretched, sharply bent or routed across a doorway.
Leave room for rotation
The reel swivels through 180°. Make sure it will not hit:
- Downpipes
- Corners
- Door frames
- Outdoor lights
- Shelves
- Fences
- Large plants or containers
Plan the full hose route
The 35m hose should reach the main watering areas without being pulled tightly around several sharp corners.
Measure the practical route to:
- Lawns and flower beds
- Patios
- Driveways
- Sheds or greenhouses
- Front and rear garden areas
Do not block air bricks or wall vents.
Tools you may need
- Tape measure
- Pencil
- Spirit level
- Cable and pipe detector
- Masonry drill
- Correct masonry bit
- Socket or spanner
- Vacuum or brush for drilling dust
- Safety glasses
- Dust mask
- Suitable fixings for the wall type
Use the drill diameter and hole depth specified by the fixing manufacturer rather than estimating from the screw size.
How to install the reel on brick

1. Inspect the wall
Choose sound, undamaged masonry and check for nearby pipes, cables and vents.
2. Test the position
Hold the bracket against the wall and confirm:
- The leader hose reaches the tap
- The reel can rotate freely
- The main hose pulls towards the garden
- The unit does not block doors or walkways
3. Mark the holes
Use a spirit level to position the bracket vertically, then mark all four mounting points.
4. Drill the holes
Drill straight into the masonry to the depth required by the selected fixing system.
Clear all dust from the holes afterwards.
5. Fix the bracket
Insert the anchors and tighten the screws gradually, alternating between the fixing points.
Stop if an anchor spins, the brick cracks or the bracket does not tighten firmly.
6. Attach the reel
Place the reel onto the bracket and install the supplied safety screw according to the manual.
How to install the reel on render
The general steps are similar, but extra care is required.
1. Confirm the substrate
Determine whether the render covers brick, block or external insulation.
2. Avoid cracked areas
Do not drill into loose, hollow-sounding or visibly cracked render.
3. Drill through the finish carefully
Start slowly to reduce surface chipping. Once through the render, continue into the masonry to the required depth.
Remember that the effective fixing depth begins in the masonry, not in the render.
4. Do not crush the render
Do not overtighten the screws to force the bracket flat against an uneven wall. This may crack the render or damage insulation underneath.
A suitable spacer or specialist stand-off fixing may be required.
5. Protect the holes
Exterior penetrations may require weather sealing. Follow the guidance supplied with the fixing or external wall system.
Test the installation gradually
Do not immediately pull out the full 35m hose.
Test the reel in stages:
- Check that the bracket is level and secure.
- Look for cracking around the fixing points.
- Connect the leader hose and check for leaks.
- Pull out a short length of hose.
- Test the locking and retraction functions.
- Rotate the reel slowly.
- Extend more hose gradually.
- Recheck the bracket for movement.
Stop using the reel if the fixings, bracket or wall surface move during testing.
Common mistakes to avoid
- Fixing into render alone
- Assuming all rendered walls have masonry directly behind them
- Using the supplied plugs without checking the substrate
- Mounting more than 2m from the tap
- Forgetting the 180° rotation space
- Installing into cracked or weak brickwork
- Overtightening screws on render
- Leaving drilling dust inside the holes
- Pulling out the full hose immediately after installation
- Blocking an air brick or vent
Frequently asked questions
Can I mount the reel directly onto render?
Not into the render alone. The fixings must anchor into suitable structural masonry behind it.
Can it be installed on a cavity wall?
Many cavity walls have a suitable outer brick layer. Use fixings designed for that masonry and do not attempt to bridge the cavity without a specified fixing system.
Can I use the supplied wall plugs?
Possibly, when the wall is sound and compatible. They may not be suitable for thick render, hollow block or external wall insulation.
What if the wall has external insulation?
Use a fixing system designed to pass through the insulation and anchor into the structural wall. Professional installation is recommended when the insulation depth is unknown.
How much clearance does the reel need?
Allow space for the 558 × 447 × 260mm reel body and its full 180° swivel movement.
Conclusion
A secure hose reel installation depends on the wall behind the visible finish.
Sound brickwork may provide a suitable base. Rendered walls require the fixings to pass through the non-load-bearing finish and anchor into solid masonry. Walls with external insulation need a specialist fixing system.
For the Giraffe Tools 35m Retractable Hose Reel, also consider its 13.6kg weight, 2m leader hose, 35m reach and 180° swivel movement when selecting the installation point.
Once mounted correctly and tested gradually, the reel can keep the hose off the ground, cover a wide garden area and retract neatly after use.


